Configuring SAML Single Sign-On with Pluto
Last updated: June 3, 2025
Organizations can use their internal credentials to sign into Pluto by completing a few IT configuration steps
Pluto supports SAML 2.0-based single sign-on (SSO), which allows you to log in through your organization's identity provider (IdP). Once configured, users will be required to sign in to Pluto through your IdP. This way, organizations can use their existing IT centralized directory to enforce password requirements, require multi-factor authentication, etc.
We can connect with any SAML 2.0 authentication provider. Some of the providers include:
Azure (example below)
Okta (more details here)
JumpCloud (more details here)
Step 1: Send SAML configuration information to Pluto
Pluto supports any IdP that implements the SAML 2.0 protocol. Follow the instructions provided by your IdP. Generally speaking, you will configure a SAML application for your organization with:
Single sign-on URL (also known as the Assertion Consumer Service URL or ACS URL): https://api.pluto.bio/auth/social/complete/saml/
Entity ID (also known as the Audience URI): https://api.pluto.bio
Login URL should be: https://app.pluto.bio/login/<organization-slug>
Client IdP must support Redirect and POST bindings
Responses should be signed if possible, otherwise assertions should be signed.
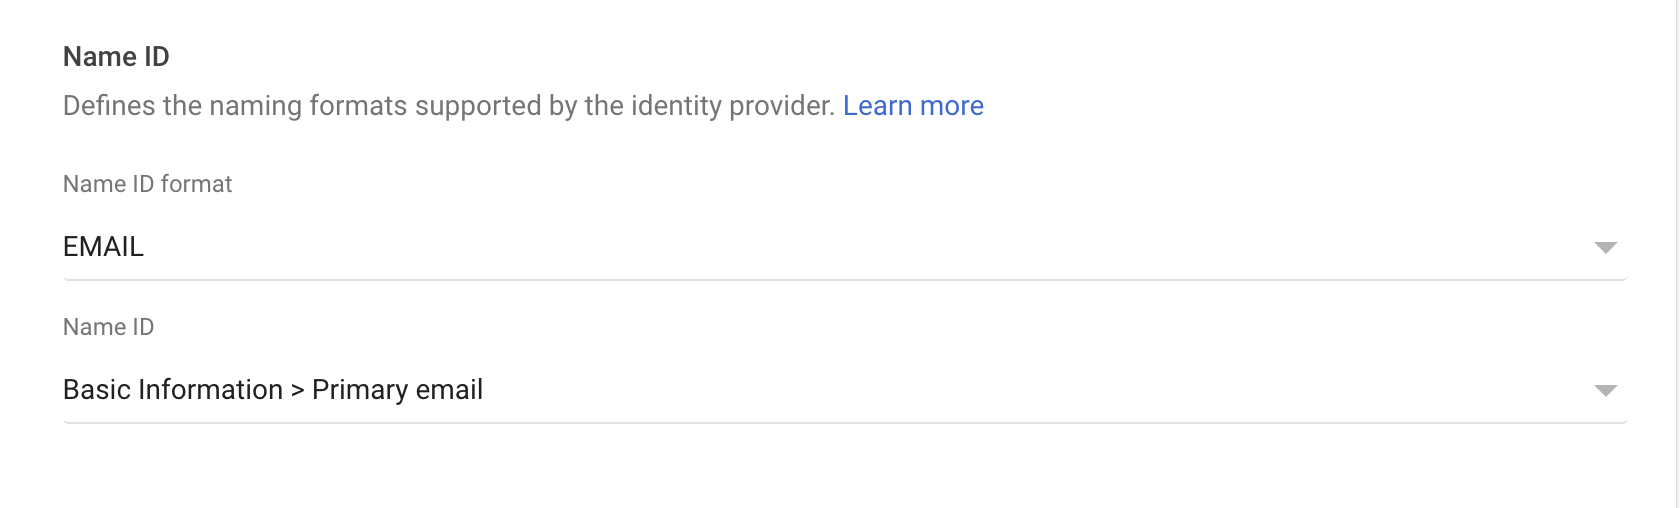
Please create the User Claims with the following attributes mapping:
NameID is configured to the user's email address
first_name: user's first name
last_name: user's last name
email: user's email
Attribute claims should NOT use any namespaces
Finally, ensure NameID is configured to the user's email address.
Example in Azure:

Example in Google:
Step 2: Send SAML configuration information to Pluto
Once you've configured your IdP, you will have either a metadata file (usually named metadata.xml) or a metadata URL. Your Pluto representative will send you a form to complete that includes a section for you to send that URL or file to us.
Once Pluto has received the metadata, we'll turn on SAML initially just for the admin user of your Pluto Lab Space in order to verify that SAML works.
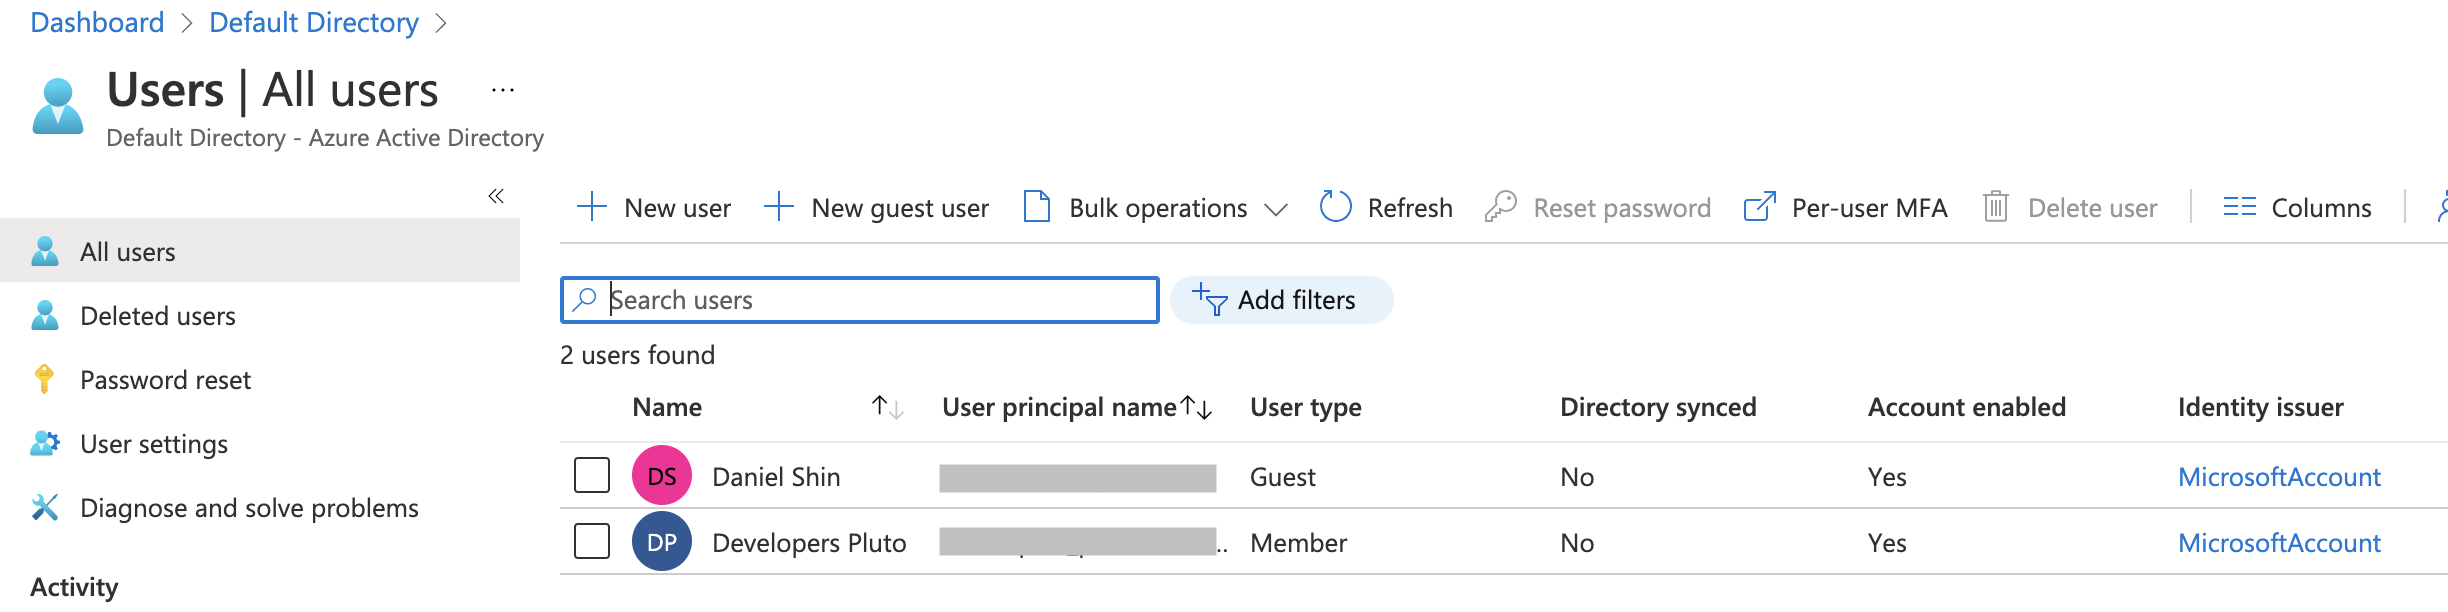
For the initial admin only testing, the admin account must be added as a user to the SAML directory:
Step 3: Verify SAML integration
Pluto will send your organization's admin user instructions on how to verify that SAML is working. During this time, ensure that all users have access to Pluto from within your IdP. Pluto will also notify your team of any users who previously signed up for Pluto with their organization email address, as once SAML is fully enabled, these users will be forced to log in with SSO moving forward.
Step 4: Enforce SAML for all users
Once we verify with your admins that the SAML integration is working as intended, Pluto support will enforce SAML for all of your users. All future sign-ons will go through your IdP instead of through a typical email address / password flow. Users in your organization who attempt to log in to Pluto will be redirected to your IdP to log in, and sent back to Pluto after successful authenticating.