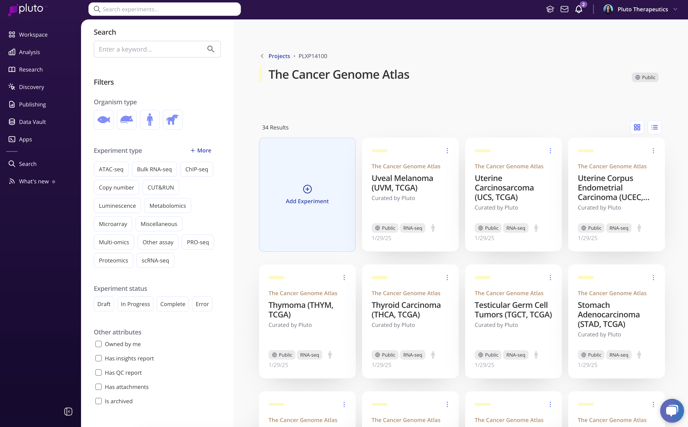
Organize your experiments into projects for easy data management and sharing

The screenshot above shows the public TCGA project in Pluto.
To create a new project, click the "+ New Project" button from the Workspace , or go to the Projects page to view all projects and create a new one:

Creating a project
- Name - Give your project an informative name, such as a set of experiments to be performed, the title of a manuscript in preparation, a scientific question being addressed, or other meaningful collection of experiments
- Program - Select the program that this project is associated with
- Project type
-
Personal project - select this option if you plan on working on the project by yourself, or plan to manually add collaborators later
-
Team project - automatically grants access to all current and future members of the selected team. Permissions are assigned according to the permissions a user has in the team (e.g. if a user is a team editor, they will be granted edit access to any team projects created for that team)
-
Select "Save & Close" to add the project to your workspace and exit, or select "Save & Add Experiment" to add the project to your workspace and add an experiment to that project.
Once created, click on a project tile to view experiments in the project. From within the project, you can Edit any of the project attributes and add more details, such as a link and a display name for that link (e.g. link to a Dropbox folder, GEO study, Sharepoint site, etc). You can also add a project description that will be displayed beneath your project title within the project.

